Monday, December 22, 2014

Inventory of my growing cast iron collection (addiction)

My cast iron collection started with a desire to eat healthier. The more I learned about healthier cooking, the more I learned about how unhealthy traditional nonstick cookware is.
My husband and I decided that instead of purchasing a new set of non stick we would purchase cast iron pieces one at a time until we had a set.

My first pieces were an enameled dutch oven and an enameled skillet.
 This one is an 11 inch Fancy Cook, made in china :/ I don't use this a lot, everything seems to stick to it. I do like it for small amounts of spaghetti sauce as high acid foots can strip the seasoning on seasoned cast iron.


 This is a 6qt (necessary for my big family), Lodge, American made (yay!) dutch oven. These are easy to clean and maintain. I like this for chilli and spaghetti for the high acidity reason I mentioned.

After these two purchases and my unpleasant sticking experiences with the skillet, I wasn't in love with cast iron. I joined a couple groups on Facebook and learned a little about buying used and cleaning and restoring plain old cast iron. This peeked my interest again because I love all things vintage.

My first fixer upper was this little guy, I got him at a second hand shop at half off for only $2.50.
 He's the perfect size for one fried egg. After going through cleaning methods and seasoning methods and feeling unsuccessful, I was ready to throw in the towel with cast iron.
My good friend, fellow collector and enabler (hehe) encouraged me to keep trying and assured me that after the learning curve I'd be in love.
Shortly after that conversation she gave me this little dutch oven for my birthday!

 This one has no markings and I'm not sure what it is. It's a smaller dutch oven. I'm assuming Asian made. But it is great for boiling noodles, making small portions of things, oatmeal, etc...
A couple months later we celebrated our friendshipversary by having breakfast together and she surprised me with this guy!
 This one is another modern Lodge, American made. Can be tough to clean but It grills a mean pork chop. :)
I think at this point I became a full on addict. I looked for and found a second hand larger skillet. I think I paid $10 for this one from an individual.
 It's a 10 3/4  inch skillet, modern Lodge. It's a great first pan if you're looking to try cast iron. Lodge is American made and even sold at Walmart already seasoned.

I would look for cast iron at second hand stores.

 I picked up this vintage Lodge biscuit pan at a thrift store for about $6.


My dad recently passed away and in his belongings was this treasure.

 This skillet is about 10 3/4 inches, it's a "3 notch Lodge", you can see the 3 notches in the heat ring. The 8 is the size number indicating the size hole it fit in to on a wood stove and the makers mark right above the 8 helps date this lodge to the 1940's. This wasn't only my dad's, it was his mom's and maybe even her mom's or mother in law's. I love using this pan.

Since my dad passed I have been understandably sad. Thrifting and finding treasures makes me happy. Needless to say, my collection has grown quite a bit since then. :)
 I found this along with the next few items at a local second hand shop. I don't know much anything about this company, I can't find info online. I do think it is pre 1960 because as I understand it in 1960 the government required the country of origin to be on cast iron. I had been wanting a cornbread pan and was excited to find this one.

 I learned after picking up this sauce pan that sauce pans are harder to come by in cast iron. That made it an even more exciting find! There are no markings and I think it may be Asian made. Again, I believe this is pre 1960 because of the lack of country of origin.


 This is a campfire dutch oven. Post 1960 Lodge based on the markings.

 This one is a small "3 notch lodge" dating it to the 40's. Single fried egg size.

We also replaced a teflon electric griddle with this modern Lodge reversible griddle/grill for the stove top.
 This was a learning curve, it sits over 2 burners and it takes some trial and error to figure out how to regulate heat. We are still figuring it out but it has made us a lot of bacon!

I think my next purchase was a set of modern Lodge that I got a good price on on Amazon.
 I LOVE this round griddle. This is one of my most used pieces. Great for quesedillas, warming tortillas, would be good for making nachos in the oven, pancakes... the possibilities are endless!

 This is just another fried egg size.

 Another dutch oven.


 Another basic sized skillet.
I picked up this smaller dutch oven at Ross for a good price. Plus, it's beautiful!

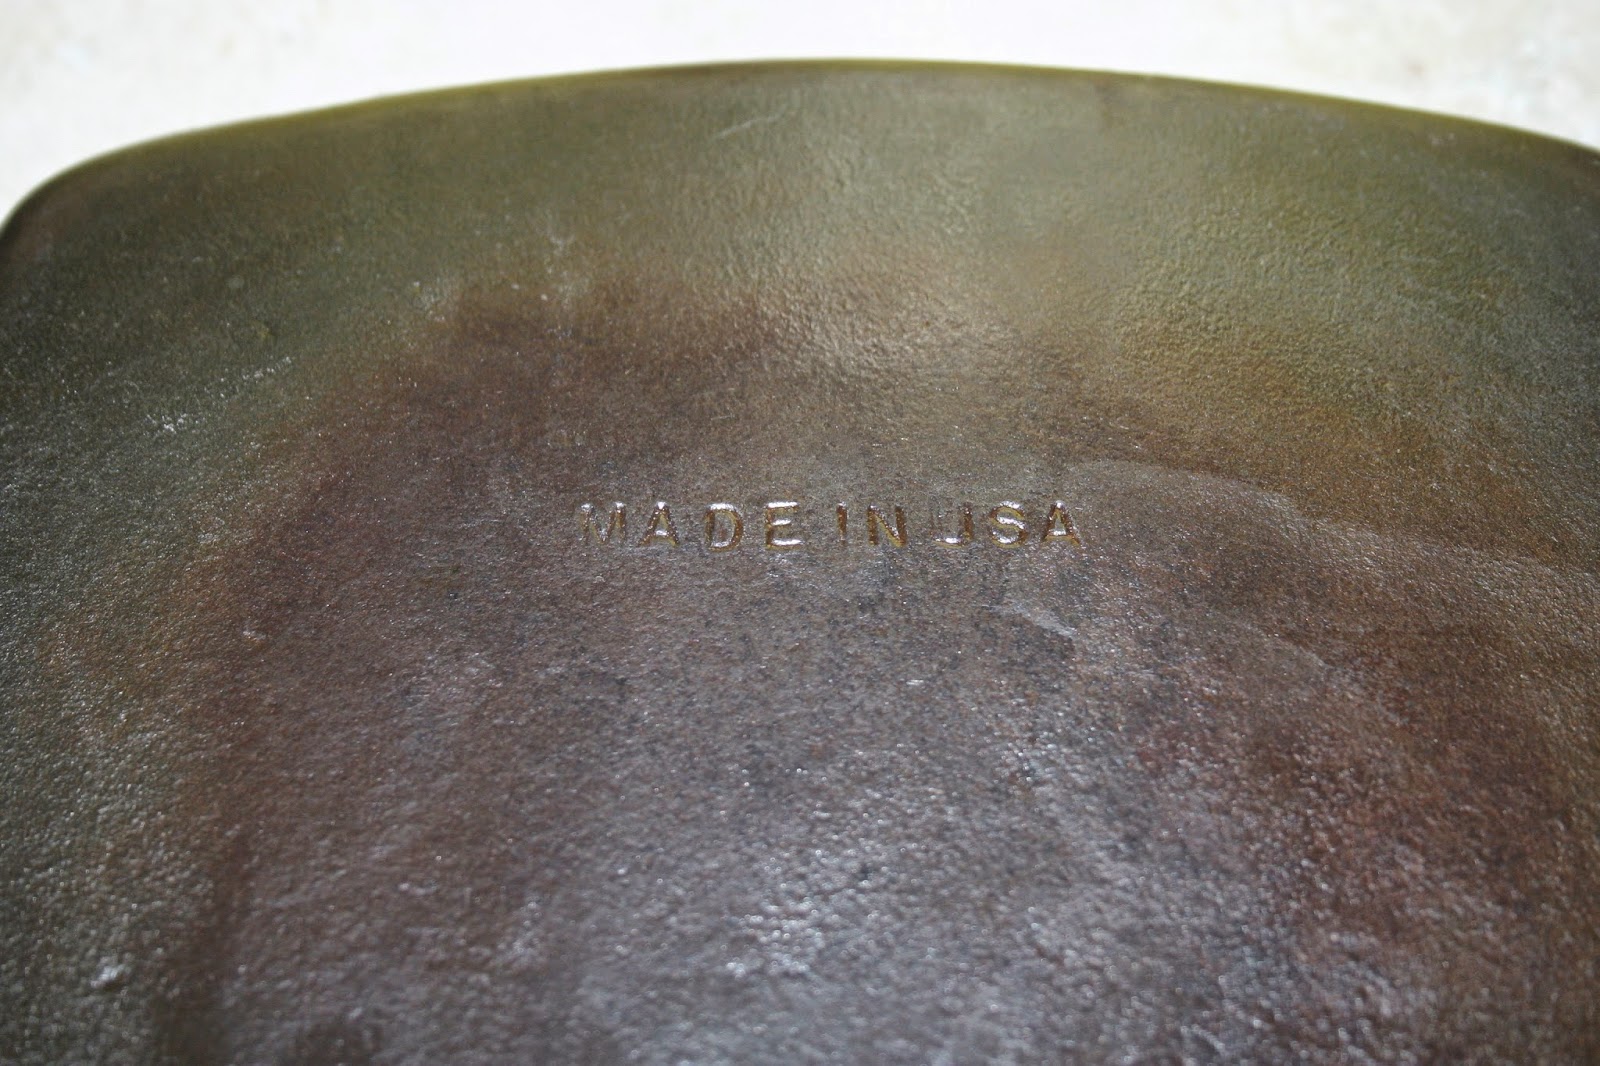
I don't remember the brand, Green something... But it did say made in USA.

I picked up this beautiful trivet at Cost Plus World Market (anyone else LOVE this store??).


My husband loves and also enables me in my collecting (I love him!). On one adventure I found this Wagner and paid $15. I was pretty excited!

 This dates 1935-1959. Big range but lovely. This is about an 8 inch skillet.

I have 4 of these Asian made little pans. I bought them at Walmart with dessert mixes with them. I thought they'd be good for homemade personal pizzas!

My hubby came along with me to an antique mall in Reno we had never been to recently and I found several pieces I had to bring home!
 I believe this trivet to be from the 1950's.


 This one was so gunked I couldn't see all the markings. After I got it cleaned up it was clear it was an unmarked Wagner, pre 1960.

 This one is a vintage Canadian pan. I read online that it is considered the "Griswold of Canada", so I think this is a unique find.


 I love the shape of this one! Based on the help of other collectors I believe this one to be a post 1960's unmarked Birmingham Stove and Range (BSR).


 And this one I believe to be an unmarked Vollrath. Pre 1960.


The same day I picked these up at thrift shops in Reno. I got each of these for about $4 a piece!


 I got this snowman biscuit pan, unknown maker and origin.

 Other collectors helped identify these as unmarked Wagner corncob cornbread/biscuit pans. I picked up 2!


 This is just and Asian made fajita skillet but it was fun and the price was right.
I have more that are being cleaned so I can re season them, I'll list them in a separate post.
Here is a picture of my collection taken this morning, I'm overwhelmed with pride!

Saturday, August 10, 2013

Better than Olive Garden alfredo!

As an alfredo lover I can be pretty picky about my sauce. To me the famous Olive Garden fettuccine alfredo has always been a little bland to me.
My mom shared this recipe with me and we made it when she visited last, it was SO good! Kind of reminded me of the alfredo you can get at a restaurant called Frosos from my hometown of Marysville, WA.

1 pkg Pasta (penne or fettuccine)
1 stick of butter
1 clove of minced garlic
1 pint of heavy cream
1 cup of fresh Parmesan cheese
2 tbsp cream cheese
salt to taste
white pepper to taste

Make pasta according to package directions.
In a sauce pan over medium heat – melt butter and add garlic and cook for two minutes, then add in heavy cream and cream cheese and heat until bubbling, but do not boil.
Remove from heat and let sit for a minute then add in Parmesan Cheese and mix until the cheese melts (removing it from heat prevents the cheese from separating or curdling).
Sprinkle in salt and pepper to taste.

Mix the hot sauce into the noodles and serve.

I thought this was so delicious and I hope you do to. :)
Thanks for reading,
~Casey

Friday, August 9, 2013

Homemade baby wipes

I know there are a million and a half homemade baby wipe recipes/blog posts out there but I feel mine will be the best because of trial and error. lol
I have made several batches of homemade baby wipes and just got frustrated time after time because they would start to grow mildew and I'd end up throwing half the batch away which meant I wasn't saving the money that I'd made these dang things to save with! 
I recently dove back into my homemade baby wipe research after a lengthy break from making them and stumbled upon a tip that so far has made the difference between mildew and no mildew. 

Here is my most recent recipe/directions.

Ingredients & Supplies:
Airtight Container
2 1/4 cups water (This depends on the size paper towel roll you use - you may need slightly more or less.)
1.5 Tbs Baby Wash (your favorite brand/scent)
1 Tbs Baby Oil (generic works fine)
1 Tbs White Vinegar (supposed to inhibit growth of mildew)
1 Roll Viva brand paper towels 

Directions:
1. Bring water to a boil on stove top and allow to cool to room temperature.  This step is important as it removes the bacteria from the water thereby keeping your wipes from molding (the step that has made the difference this time around so there must be truth to this!). 

2. While the water is boiling, use a NON-serrated SHARP knife to cut the roll of paper towels in half.  Place one of the halved paper towel rolls cut side down in the container. You will use 1/2 of the roll for each batch of wipes. 

3.  Mix water, baby bath, and baby oil, vinegar.  

4.  Pour the liquid mixture over the paper towels and close with the airtight lid.

5. As soon as the liquid is cool enough, you can remove the inner cardboard. 

Notes: I use a tupperware bowl I already had to soak the paper towels in then when I remove the cardboard I put the roll into a left over wipe box I have. I have seen posts where people have bought tupperware in the size to fit the roll and pull them out from there but I already had a box to use so I am not going to waste the money. You can unroll and fold the wipes accordion style but I just unroll a few times and put it back in the box with the unrolled wipes on top so I have several that pull right through. I only have to do that once a day so it's no biggie. Also, i have heard good things about Bounty Select-a-Size brand paper towels so if they are less expensive I'll be trying those next batch. 

Please comment below if you have you make your own and do it differently or if you have any questions. 
Thanks for reading!
~Casey

Tips and Tricks for surviving the expense of back to school

Hi all!
One of my readers, Kevin, requested this post and I thought it was a great idea!
I'm going to let you all know what things we do to help us survive the expense of 3 school aged children going back to school and hope that you will comment below with what your families do. Lets help each other out!!
To start, we don't wait until the last moment to buy everything at once. Spreading out the purchases over the Summer allows us to not get hit so hard at once and also to take advantage of some sales on last school year's items.
 Our kids don't go back to school for another few weeks but we've already purchased their backpacks from Children's Place online at great prices for 2 and a Jansport for our older off of Amazon.


We shop clearance racks throughout the year to buy the opposite season's items at the lowest prices (we have jeans for our daughter at $5-$10 a piece stocked up for the next 2 years!). Children's place had great prices on their jeans last year and they really held up for our younger son who is HARD on his wardrobe. They usually have promo codes you can find to use when shopping online and you get an extra 5% if you use a Children's Place card.
Shoes for kids can be tricky because you want something that will last but you also don't want to spend a fortune... We try Ross for shoes because you can get brand name shoes for a fraction of the price. Last year our daughter got Converse at Target and she is still using them so they held up pretty well for the $25 we spent.
School supplies can be trickier because you don't have much choice as to what the teachers require your child to have. We shop at Walmart because that's were we find good prices and we don't have many other options in our small town.
One thing I have learned is to not buy supplies using the generic lists stores put out before you hear from your school/teacher. We did this last year because we were anxious to get the items and this resulted in another trip to get the correct items and then another to return all the items we bought that were NOT required (thanks to the store so kindly offering us those generic lists early). I'm sure the store's goal is to get you to buy those things and then just keeping them even though you don't need them. Money in their pockets!
Also, in younger grades you're asked to buy markers, pencils, etc to go into community bins for the whole class to use from so if that's the case we don't go all out on the fanciest, most expensive items.

There are the things we do, please comment below with your family's ways of getting through the back to school season without breaking the bank!
As always, thanks for reading!
~Casey

Thursday, August 1, 2013

Photo Greetings By Casey!

Hey all! I'm hoping EVERYONE will go check out my Facebook page for my new business adventure at this link ---> Photo Greetings By Casey.
These are packs of 5 greeting cards with envelopes that are beautified by my own photos for only $5! You can choose any 5 images you choose or you can choose a theme such as flowers and I will choose 5 for you. Here is an example of what your pack of cards would look like....
Here are a FEW of the options I have to choose from...


So go check me out, contact me if you're interested and THANKS for stopping by. :)
~Casey

Tuesday, March 5, 2013

Homemade hair treatment for hard water damage and dry climate

2 1/2 years ago my family relocated from Washington state to Nevada. I immediately noticed a difference in my skin and hair. I attributed the changes to the lack of moisture here compared to Washington and was told by a few hair stylists that my hair was just used to more moisture so to use moisturizing shampoos, shampoo less and do deep conditioning treatments. I spent a lot of money on special shampoos and treatements but nothing was helping my hair. No matter how much I conditioned or trimmed it, my ends were ALWAYS splitting. This was the opposite of what I was used to...
Recently while I was getting my hair done by my new stylist there was conversation about our water and how hard it is on our hair. We have very hard water where I live in Nevada but it never really occured to me that maybe that was my main hair problem.
After leaving I went home and looked up the affect of hard water on your hair and was SHOCKED at what I learned. I will try to explain this as best I can... Our hair "cuticle" lays like roof shingles, layered one on top of the other, hard water leaves deposits on your hair which prevents your cuticle from laying flat (split ends!!). No wonder my hair was breaking so stinking much. After some more searching I read a couple people had been using white vinegar as a rinse in the shower to remove the deposits left by the hard water. Since I buy white vinegar by the gallon already for my homeade cleaning solutions and had it on hand I gave it a try and have continued rinsing once a week with it and guess what... No split ends!!
I have to say though that I also had just changed a few other things in my hair care routine. I started using Organix brand shampoo and conditioner because it is sulfate free and has argan oil (moroccan oil) which is supposed to be amazing for hair and sulfates are not...

In addition to that I purchased some 100% argan oil off of Amazon and have been using that too. This is the brand I purchased.

So my hair routine now (split end free!) is that I wash with the Organix every other day and once a week I rinse with a mix of vinegar and water after I shampoo and let the vinegar sit for a bit before rinsing it out and conditioning and after every wash I apply some of the 100% argan oil to my hair. I am at over a month since my last hair cut with no split ends!
I hope this helps someone out there who may be dealing with a similar hair crisis!! 

Thanks for reading!
~Casey